Introduction:
Circuit boards are essential to every electronic equipment everyone uses in their everyday lives. You can find the circuit board on your computer, phone, television, and other electronic devices. A circuit board can fail to work for many reasons, such as power overload or accidental impact.
The leading cause of circuit board damage is electrostatic discharge at the assembly stage.
There are many ways to troubleshoot a problem with a circuit board. Here’s a list of troubleshooting techniques to fix the faulty circuit board.

1. Visual Element Inspection:
Start with visually inspecting the circuit board. It helps identify the more obvious problems, like bad connections or overheated components. It would be best to look for small burn marks that indicate an overheated part. It would help if you also looked for dull-looking connections and bulging components. If you find such a component with burn marks, replace it with a new one.
2. Integrated Circuit Testing:
Integrated circuits can fail because of leakage, broken gate oxide, mistakes in the manufacturing process, or damage to the contacts. Checking the integrated circuits is the trickiest part of the circuit board troubleshooting techniques. ICs designed particularly for each electronic device, so they heavily differ from each other.
But you can determine what’s wrong with integrated circuits by comparing them to the same functional integrated circuits. You can compare the behavior and functionality of similar ICs at once.
3. Check the Individual Components:
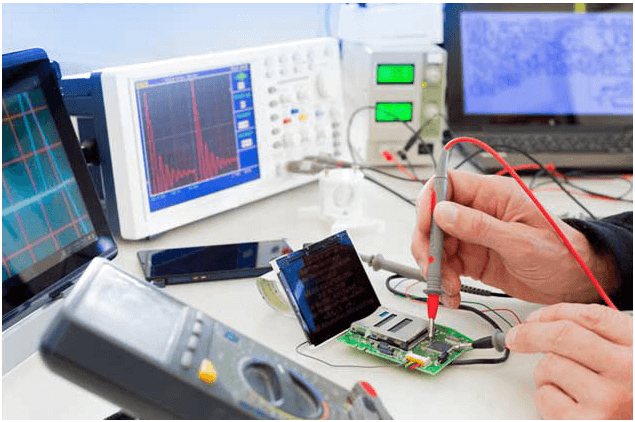
For testing individual components, you need a multimeter. Use a multimeter for these components, including a capacitor, a resistor, and more. Check each one individually. Make sure each component is registered at or below the stated component value; repair or replace it if it displays a higher value.
4. Power Supply Inspection:
For power supply troubleshooting, get the multimeter and measure the voltage of the power rails. You should ensure the input and output values match the expected values of the component. If it displays a voltage of 0v, it shows that the power rail has a short circuit. You can detect the exact location of the short circuit as the area around it gets instantly heated up.
5. Physical Component Inspection:
Connect the circuit board to the power supply and use your hand to feel different spots on it to find hot spots. If a specific area gets hotter than the rest, you need to repair it, whether it is a connection or a component. However, you should avoid putting both hands on it as it increases the risk of electric shock.
6. Signal Probing:
You will need a multimeter and a waveform capture device for signal probing. This troubleshooting technique is also tricky, but you can do it with proper guidance. In this process, voltage is measured, and waveforms are taken at different test points to find the source of the problem.
Conclusion:
With these troubleshooting techniques, you can repair any circuit board issue. Circuit boards are prone to damage and failure. These troubleshooting techniques help you fix the circuit board of your electronic device without spending money and time. Still if you’re having trouble repairing circuit boards, hire a professional PCB troubleshooting company. Some circuit board issues need troubleshooting from a skilled technician and in that case, you can contact us.
